

One of my favorite handmade gifts to make for people are notecard sets. Cut Cardstock makes it so easy because they have card sets of all different colors – and then notecards are already cut and scored! The matching envelopes are beautiful and high quality as well. For this project, I used the Aqua Basis A2 Folded Cards with matching envelopes.

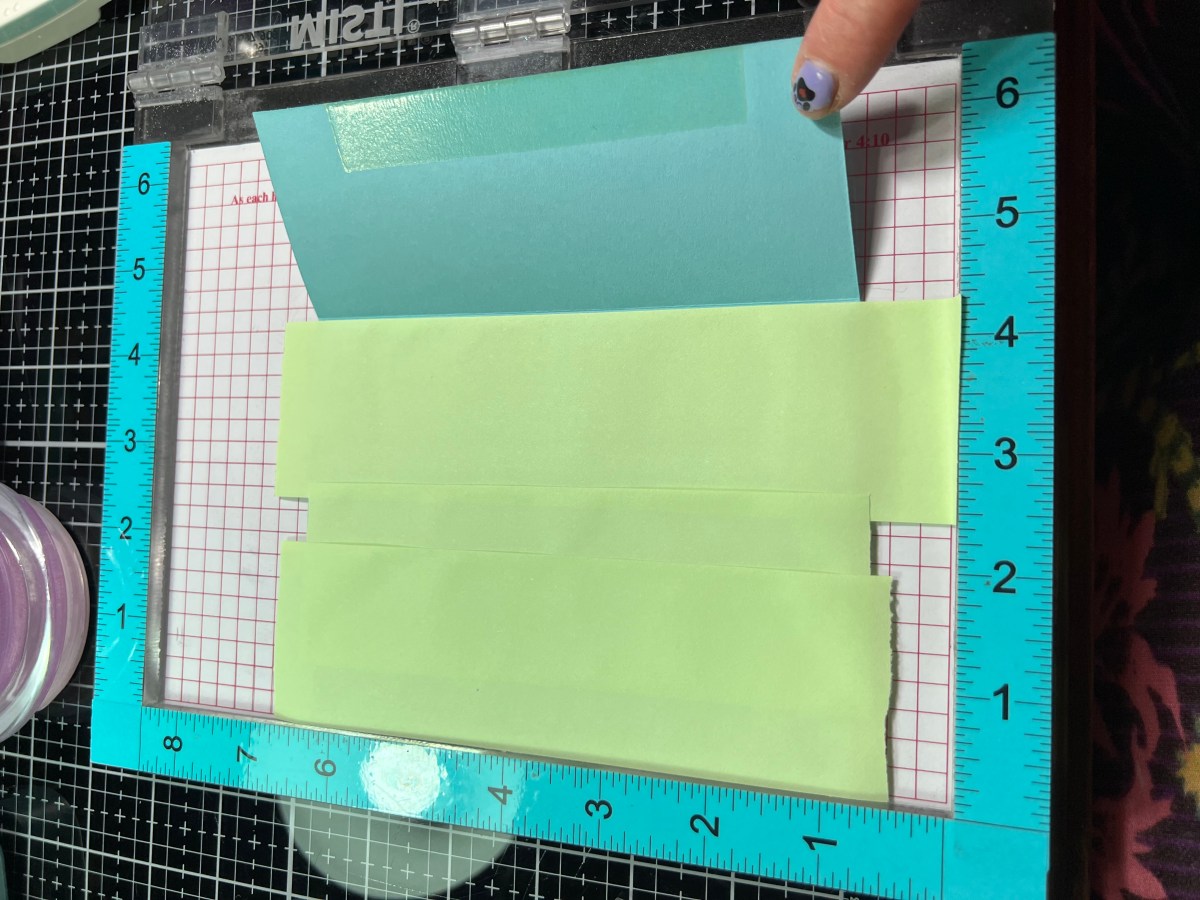
When stamping directly onto your folded card base, you’ll need to mask off the area you don’t want to stamp on. I used some low tack paper tape to mask off the part of the back of the notecard that the stamp might touch. I did this right at the fold.

I wanted to start by adding a tone on tone stamped background onto the front of the notecard. For this, I was going to use a red rubber background stamp that was bigger than my card so I used the Misti corner to help align my cardstock but not right up against the corner of my stamp platform. The corner can be taken off to allow the stamp to go over the edge of the cardstock.


When stamping large images like backgrounds, I use this tool to help apply even pressure over the entire stamp. I made this pressure tool using the lid from a Yankee candle, and added a piece of felt on the bottom with glue. It works like a charm! (I sprayed the inside of the lid with glue and put some glitter in there as decoration prior to gluing on the felt piece!)


I always love making matching envelopes to go with my card sets. For this set, I stamped on the back flap using the same background stamp for the card. I used low tack tape to mask off the part of the envelope I didn’t want to get ink on.

I used the flower stamp to stamp on the front of the card with the same color ink. I love this tone on tone look for envelopes!

When doing card sets, I think it goes faster to do assembly line production. I did some ink blending through stencils for the focal image for my cards. I inked on the Cougar Super Smooth 80# cardstock – this cardstock is sooooooo smooth and makes ink blending so easy! The 80# version is perfect for using for die cutting images. This image is from a layered stencil bundle with matching stamp and die. I did all of the first stencil on my 5 panels, and then moved onto Stencil #2 and so on.


I love that this stamp set has an outline stamp that matches – I think it really makes the flowers pop!

I stamped and die cut sentiments from the same light blue cardstock as the notecards and then we have all our pieces ready to assemble!


Thanks for stopping by to check out my project today! I would love to see what kind of handmade gifts you like making! Tag me on Instagram : Purple Puppy Papercrafting
